Why a Charcuterie Board Makes Sense for Holiday Parties
How to Arrange a Festive Christmas Charcuterie Board Step-by-Step
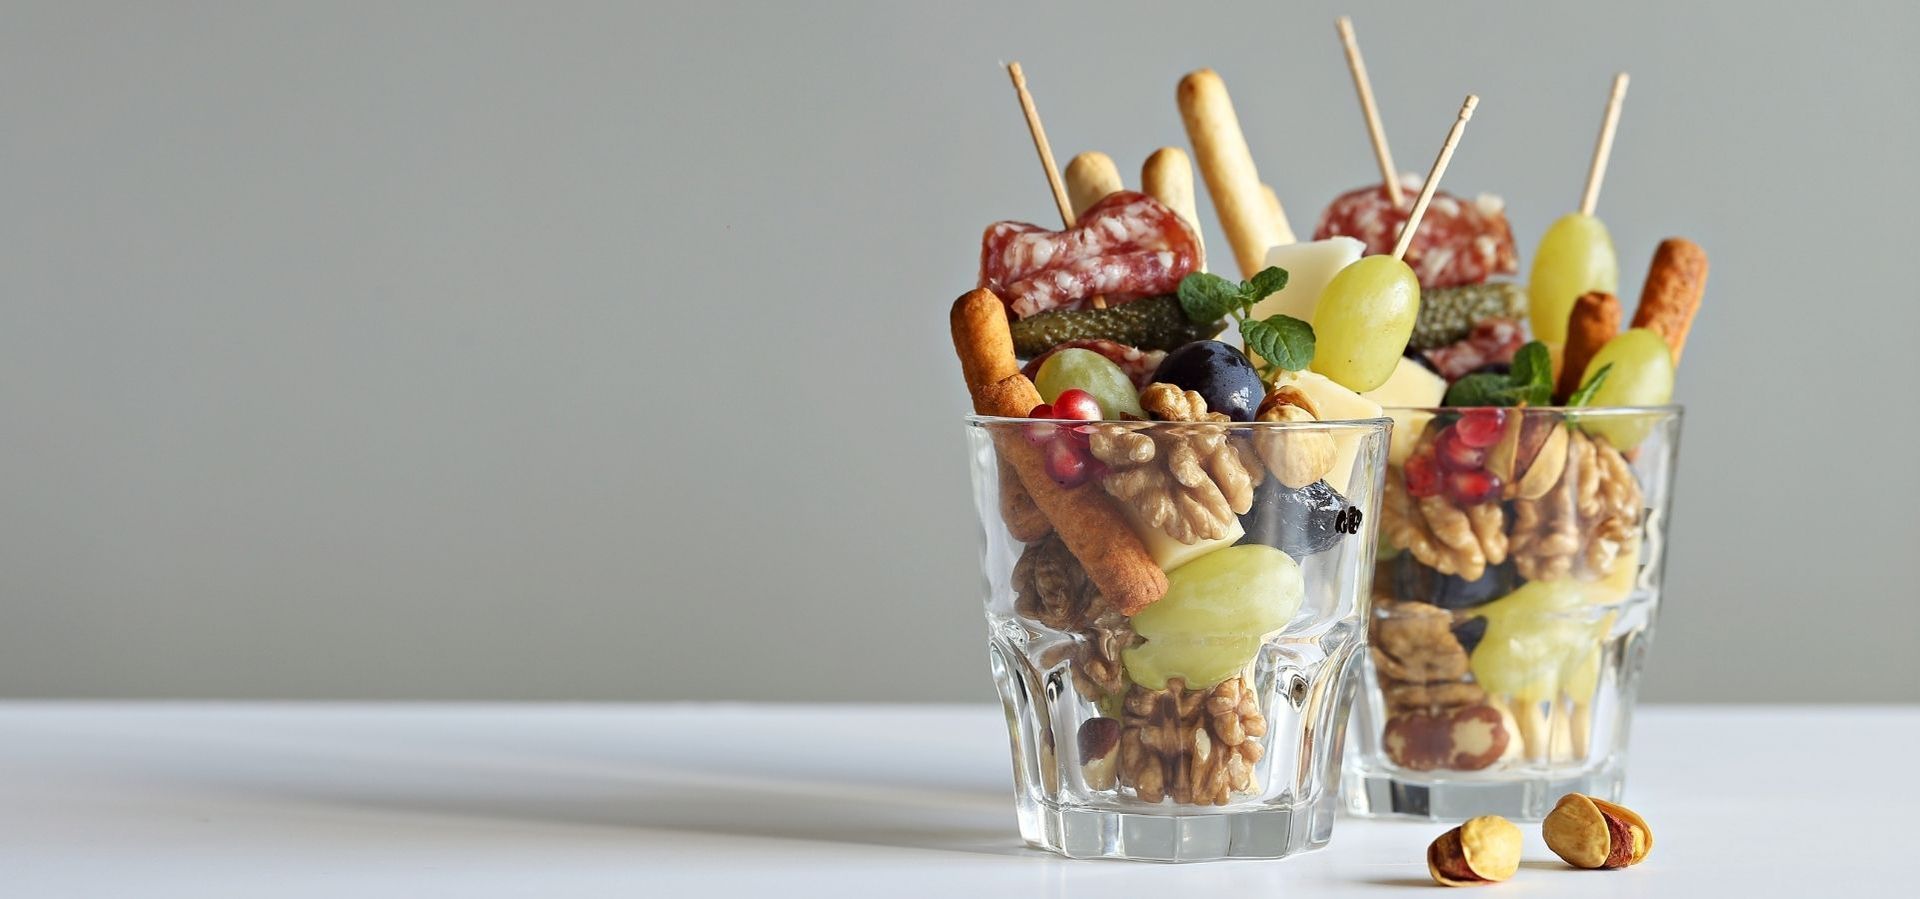
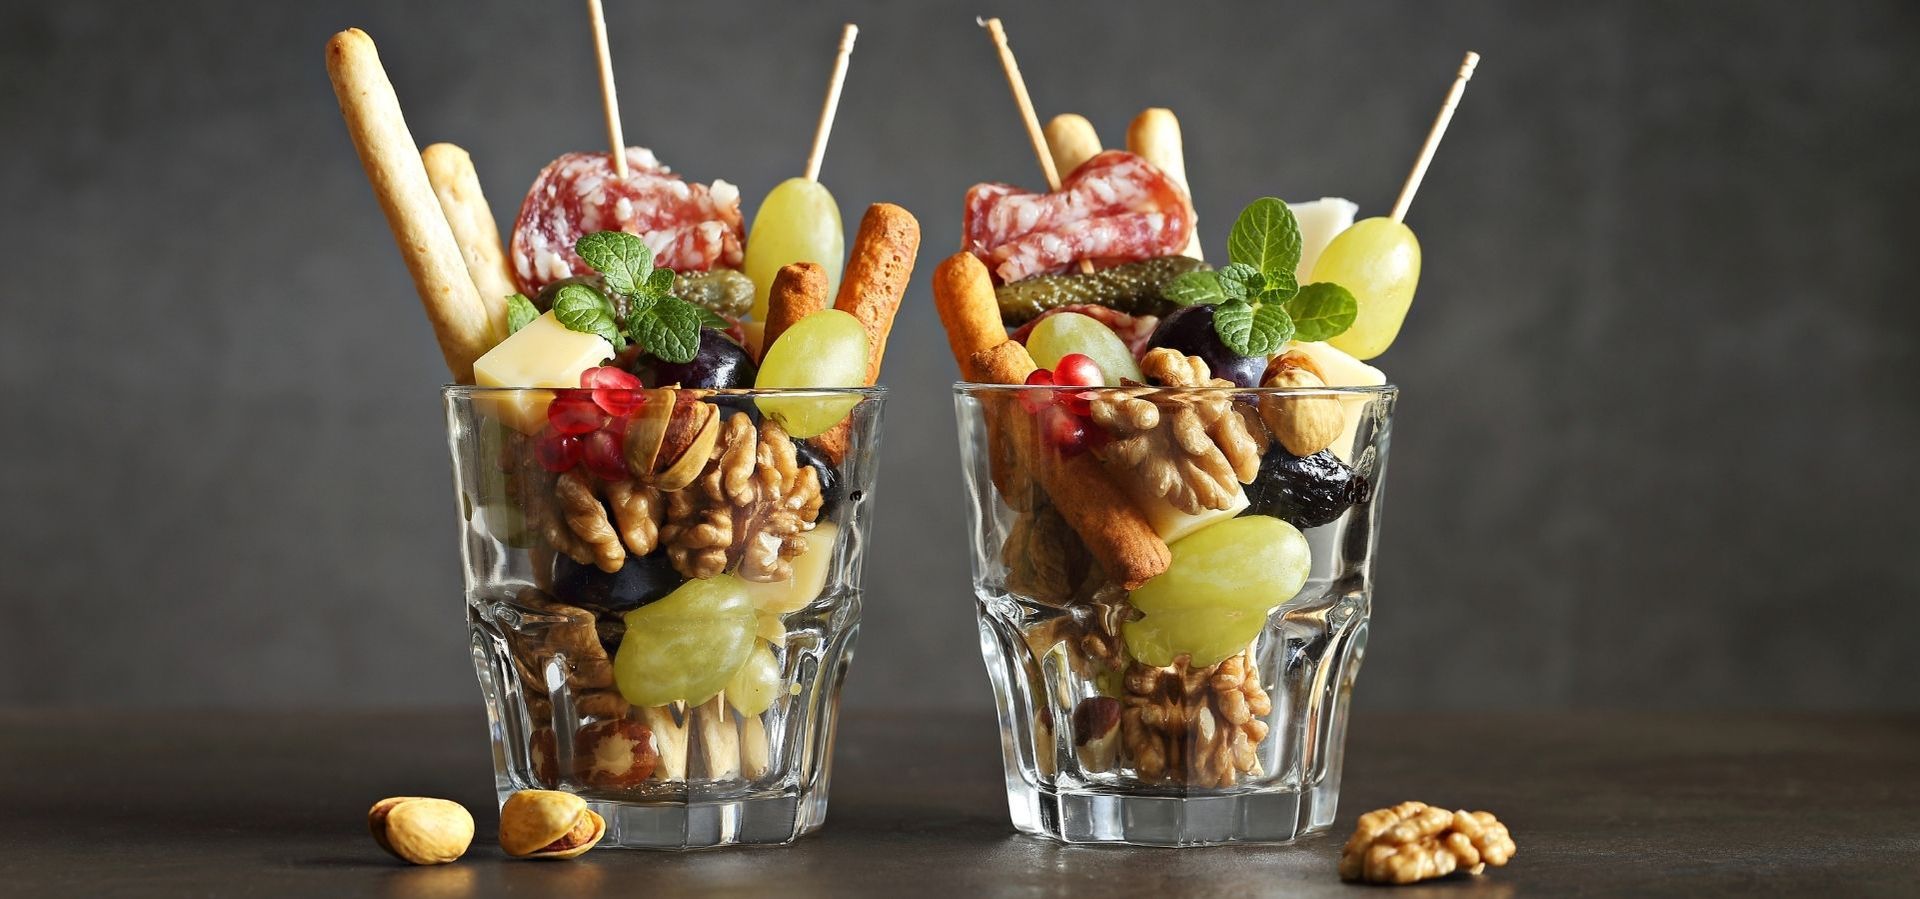
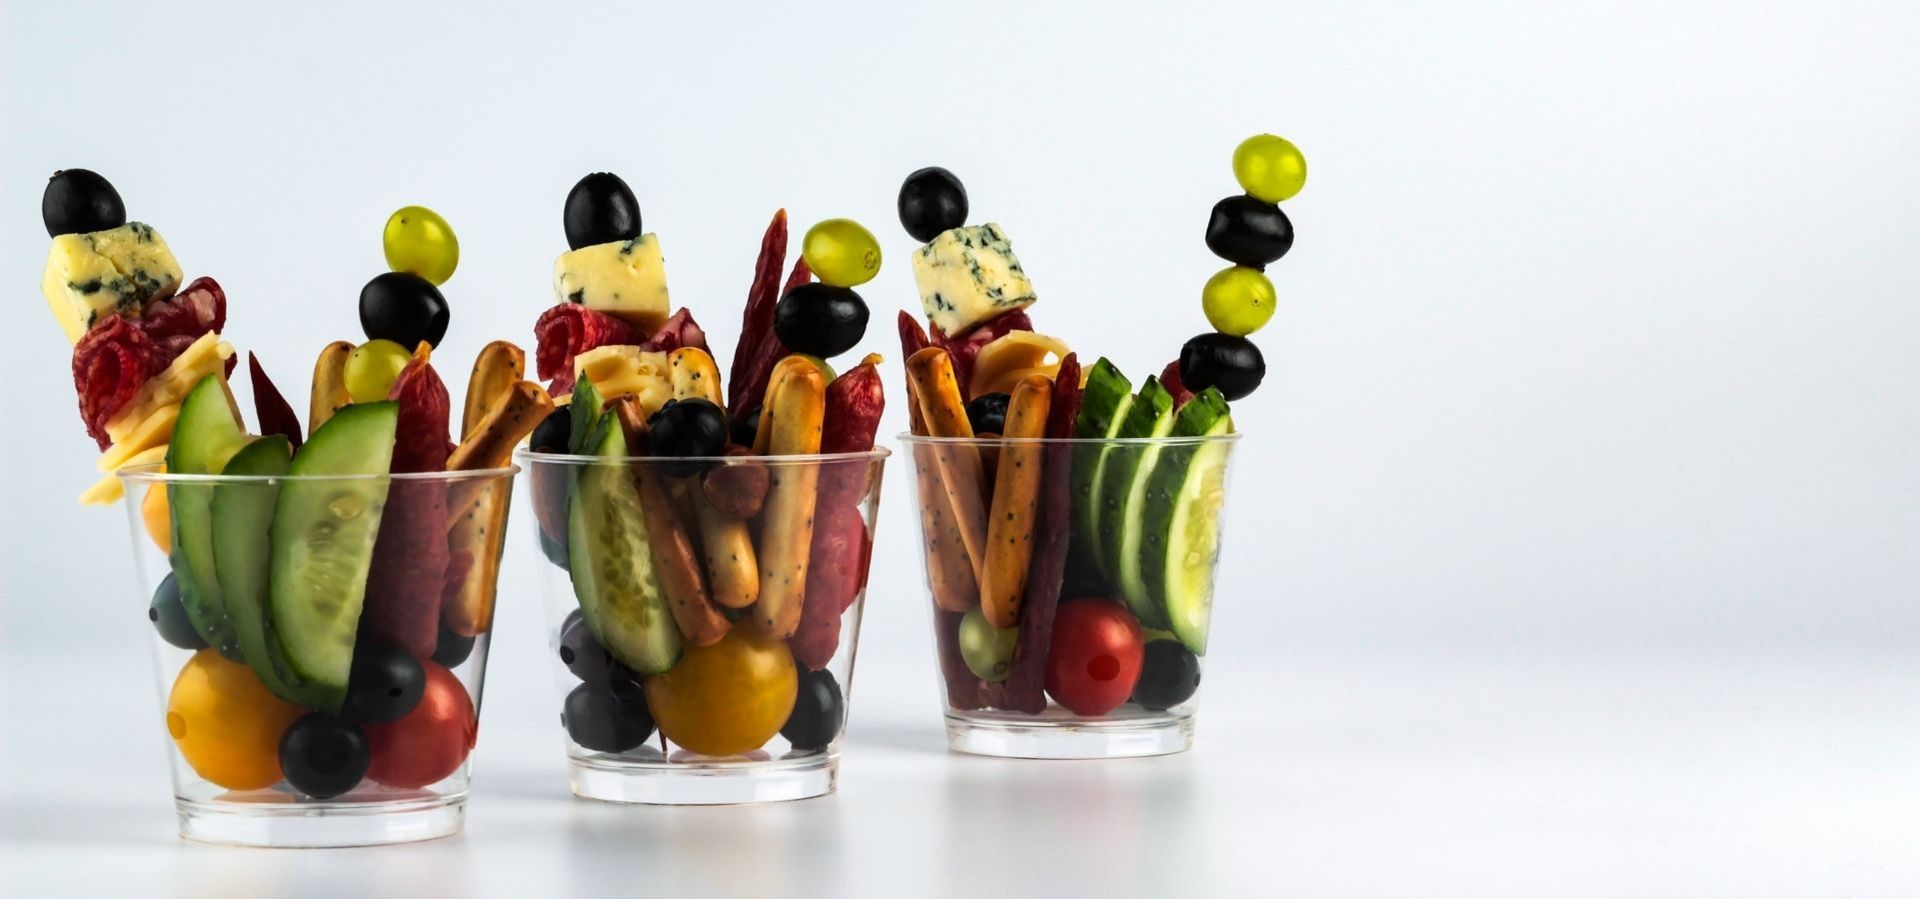
A charcuterie board at its most basic is a selection of cured meats, cheeses, breads or crackers, plus accompaniments (fruit, nuts, spreads) arranged on a board or platter.
For Christmas or holiday parties, this kind of spread works well because it offers variety (something for almost every taste), needs very little cooking, and invites guests to graze and mingle. That relaxed, share-and-snack vibe often fits holiday gatherings better than a formal sit-down meal.
With a bit of planning and care, you can make a charcuterie board that looks festive and tastes great. Below is a step-by-step guide to help you craft a board that feels thoughtful, festive and friendly.
What You’ll Need: Ingredients & Tools
Before you start building a board, gather your items. Here’s a flexible, but solid list (you don’t need all of them, pick what works for you and your guests):
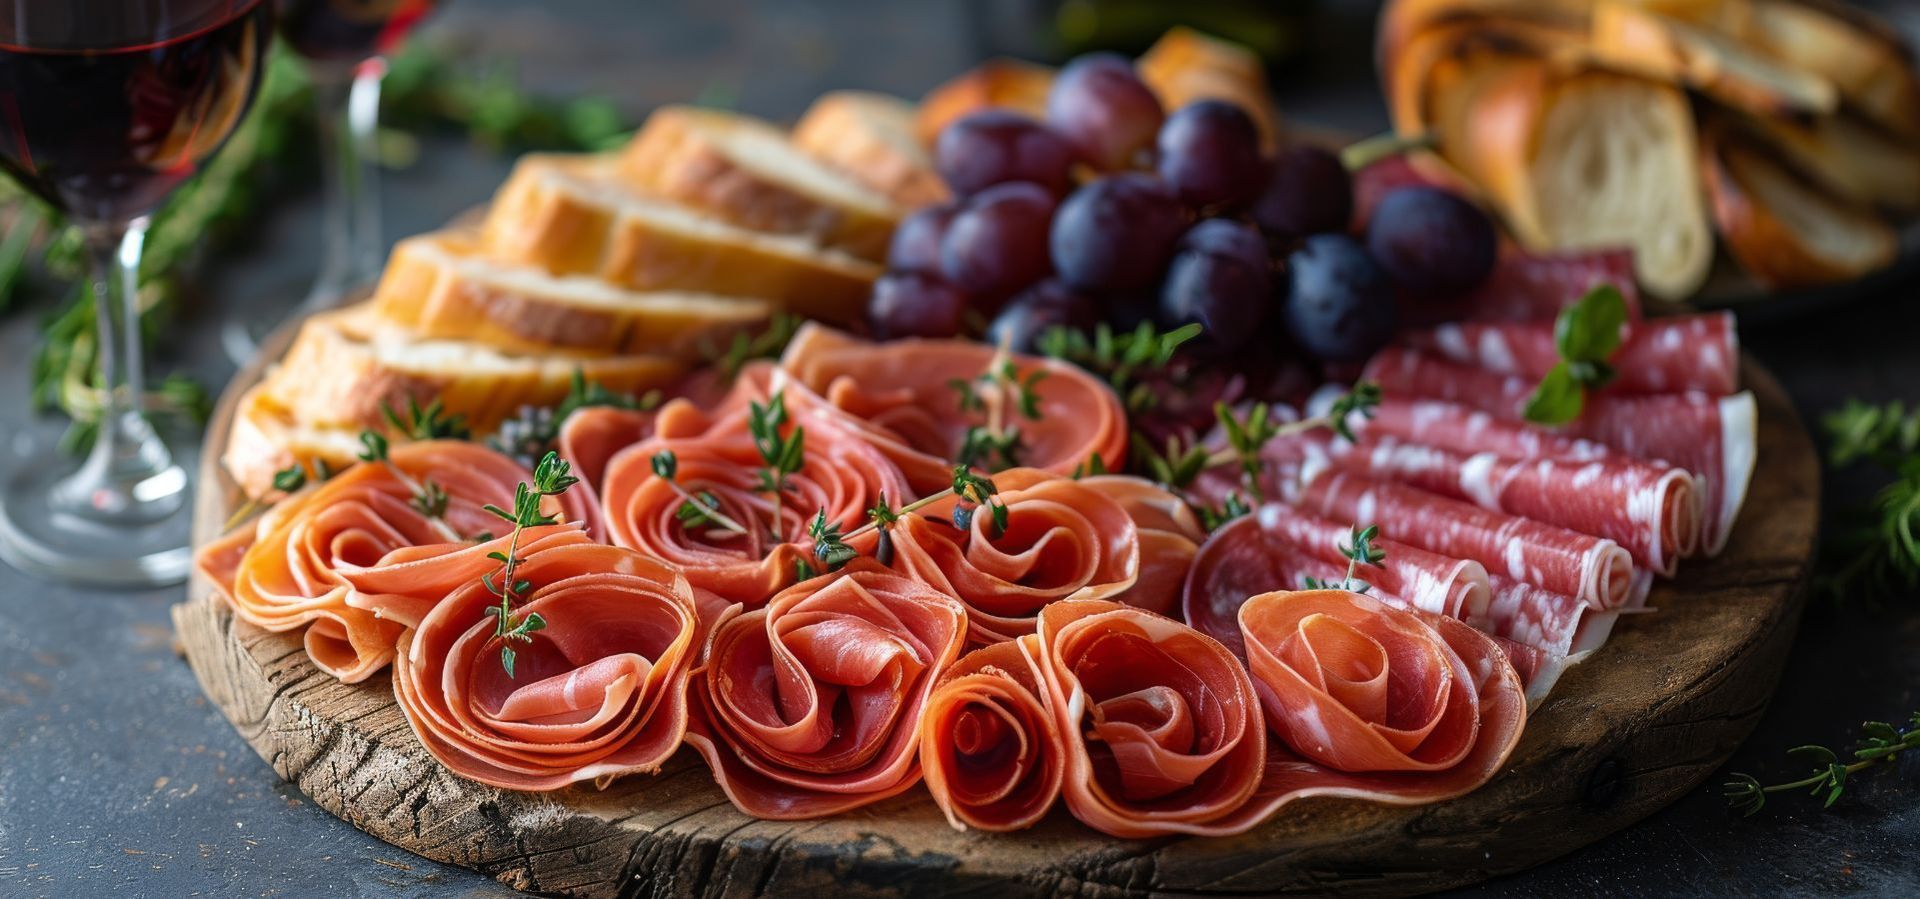
- Cured meats: e.g. salami, prosciutto, pepperoni, ham or similar cold cuts.
- Cheeses: a mix works best soft (Brie, goat cheese), semi-soft (Havarti, mozzarella), firmer or aged cheeses (cheddar, Gouda, Manchego).
- Crackers, breads or crostini: baguette slices, assorted crackers, breadsticks, flatbreads, items for guests to use as a base or “vehicles.”
- Fruits / fresh produce: grapes, apple or pear slices, berries, pomegranate arils, or seasonal fruit adds sweetness and a fresh bite.
- Nuts / crunchy snacks: almonds, walnuts, pistachios, maybe candied nuts, good for texture and contrast.
- Spreads, dips, preserves: honey, jams, chutneys, mustards, or fruit preserves. These add a nice sweet or tangy touch to pair with cheeses or meats.
- Extras & garnishes: herbs like rosemary or thyme (they make the board look more festive), perhaps shaped cheeses or meats (like cut-out stars), olives, pickles or marinated veggies if you like.
- Serving board/platter & serving utensils: a wooden or slate board works well; prepare cheese knives, small spoons for dips, tongs or picks for meats/fruits help with clean serving.
How to arrange a festive Christmas charcuterie board step-by-step
Here’s a process you can follow to build a charcuterie board that’s festive, balanced and guest-ready.
1. Prep Everything Ahead
Clean and slice meats, cube or slice cheeses, wash and cut fruits, gather nuts, and open jars of preserves or dips. If you want to work calmly (not in a last-minute rush), do this 30–60 minutes before you plan to assemble.
Having everything ready means you can focus on arranging rather than chopping when time is short.
2. Pick Your Board / Platter & Start with Base Items
Choose a wooden board, slate or platter, something large enough for a good variety.
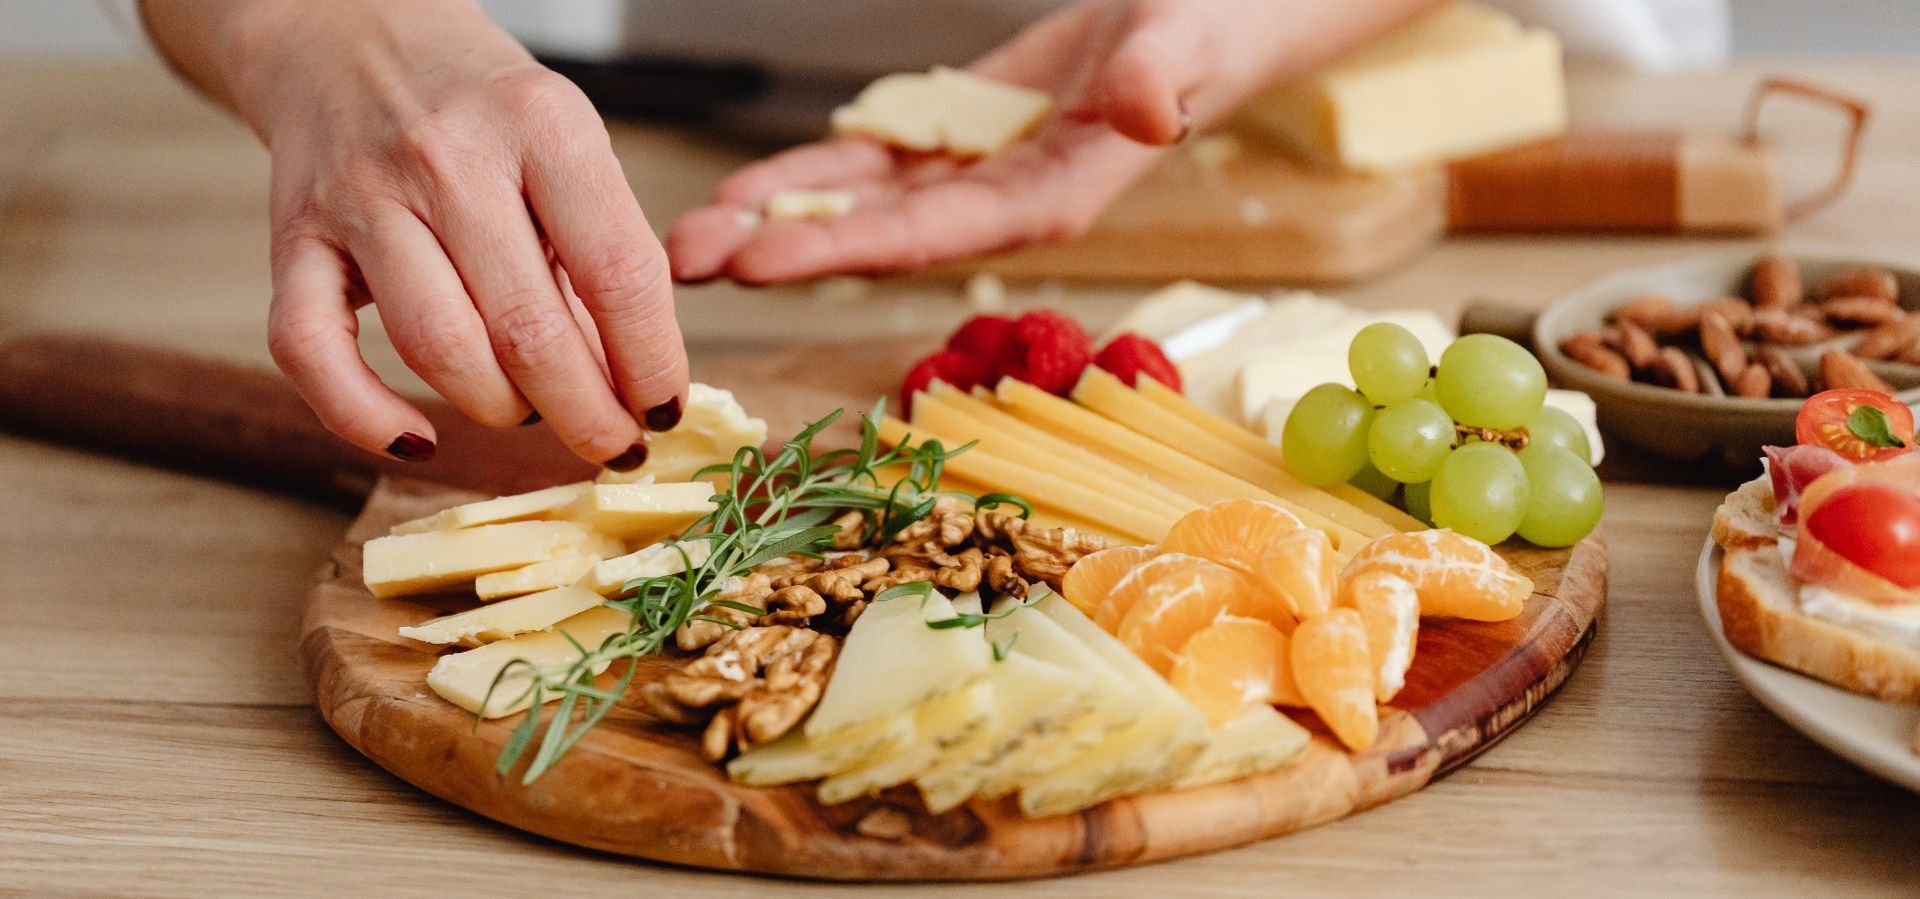
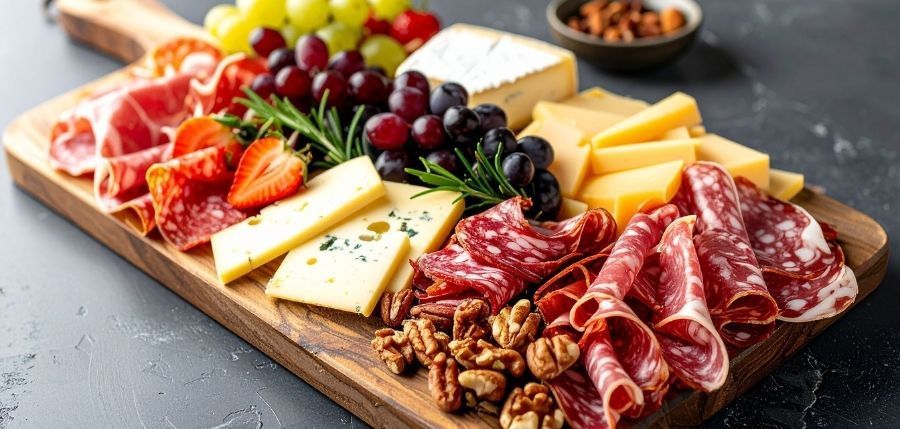
Begin by putting down the larger or “anchor” items: cheeses, and if using bowls/ramkins for dips or olives/pickles, place those first. Cheeses tend to act as “landmarks” on the board.
3. Add Meats with Shape & Flair
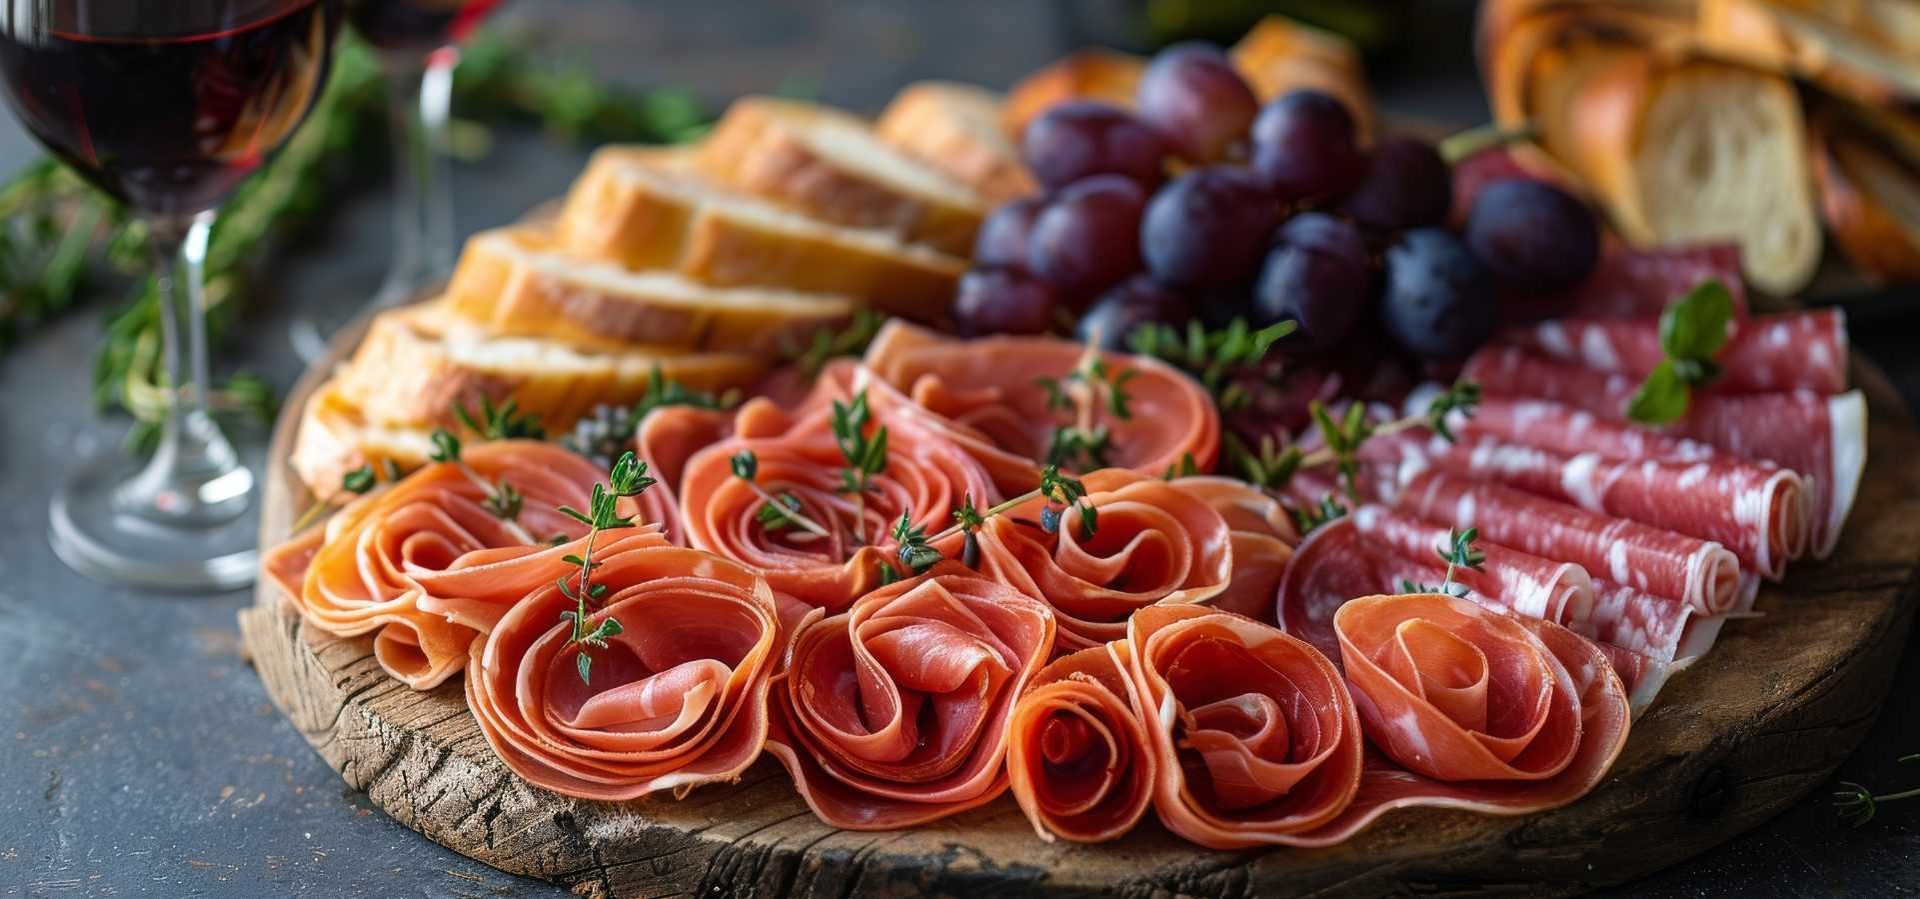
Take your cured meats. For interest and neatness: fold or roll slices, or stack them, avoid just scattering loose slices. This gives texture and makes the board look inviting.
If you like you can create “salami roses” (folded or rolled) or small meat bundles for contrast and a more decorative look.
Place meats near cheeses and dips that helps guests build bites easily (meat + cheese + dip in one reach).
4. Fill in With Crackers, Bread, and Crunchy Bases
Once meats and cheeses sit, arrange breads, crackers or crostini near one side or in small stacks. That gives structure and base for bites. Crackers can go along the edge or near bowls for dips, depending on your board shape.
5. Add Fruits, Nuts, Veggies For Colour, Texture, Balance
Now sprinkle fruits (grapes, berries, apple slices), nuts or crunchy snacks, maybe pickles or olives. Place them between the heavier items, cheeses and meats to give contrast: sweet, tangy or crunchy bites in between rich cheese or salty meat.
This step helps balance flavours and gives the board a lively, colourful vibe.
6. Add Final Touches & Garnishes Holiday Feel
If you want a festive board, toss in some herbs like rosemary or thyme (fresh sprigs) they look like pine or festive greenery next to meats and cheeses.
If you have cookie cutters, you could cut cheeses or veggies into star, tree or snow-shaped pieces for a seasonal touch. That gives a playful feel, especially good if kids or mixed-age guests attend.
You can also tuck small dips or jams in bowls (if you like sweet-savoury combos), or include items like olives, pickles, and marinated veggies for variety.
7. Leave Some “Breathing Space” Don’t Overcrowd
Avoid packing the board too tight. If you put everything too close together, nothing stands out. Instead, give small gaps, let items breathe. That makes the board look thoughtful rather than messy.
If the party lasts several hours, you can plan to refill parts of the board later. That way it stays fresh-looking without a huge overfill at once.
8. Serving Tips & Final Prep
Place serving utensils near dips, cheeses, small knives for cheese, spoons for preserves, tongs or picks for olives or items that need grabbing. That helps guests serve themselves cleanly and easily.
Set the board out 15–30 minutes before guests arrive so cheeses soften a bit (flavours open up more), but avoid leaving perishable items out too long.
Suggested Board Layouts & Ideas for Holiday Parties
Depending on your space, guest list, and vibe, you might pick different board designs. Here are a few ideas, with pros and trade-offs.
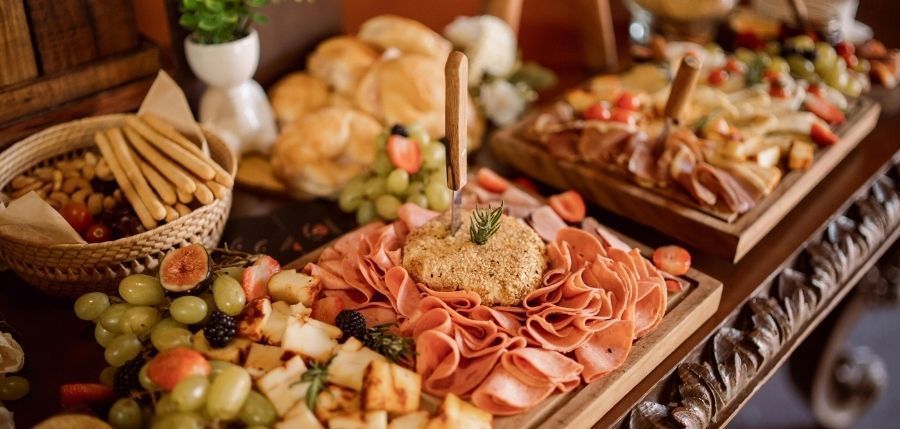
- Classic Mixed Board: Cheeses, meats, breads/crackers, fruits, nuts, dips, balanced mix. Great for medium to large gatherings, works for most tastes.
- “Wreath-Style” Board (Circular or Round): Lay herbs (rosemary/thyme) around the outer edge for a green wreath look; then build meats/cheeses/fruits inside. Looks festive and decorative, nice for a sit-down dinner table or holiday spread.
- “Tree-Shape” or Themed Board: Use a long board and arrange items to mimic a Christmas-tree shape; or use colored cheeses, red berries and green grapes to match the holiday palette. Works well if you want something playful, special.
- Interactive Grazing Setup / Buffet: Use multiple smaller boards or a large spread where guests graze freely. Good if you expect guests to mingle, come-and-go, or if you have a large crowd and don’t need a single “centrepiece.”
Common Mistakes & What to Avoid
- Overfilling the board at once, I once piled so much food that nothing looked appealing. It’s better to fill up less, leave gaps, and refill later if needed.
- Mixing strong and mild flavours without balance, salty meats and strong cheeses can overpower lighter items like soft cheese or fruits. I learned it’s better to place strong items at some distance from mild ones, and alternate with neutral or fresh items.
- Skipping utensils or platters for dips & spreads leads to messy serving or guests hesitating to dig in. Always have small spoons/knives ready.
- Waiting until the last minute, slicing,and prepping under stress leads to sloppy presentation. Do prep ahead, then assemble calmly.
- Overlooking dietary preferences if you have vegetarians or guests avoiding meat, having a small separate section (cheese, nuts, fruit) or even a vegetarian-only board helps. Guests feel welcome rather than excluded.
Rough Shopping & Serving Plan (for ~10–15 people)
Here's a sample plan if you expect a mid-size holiday crowd:
Cured meats (2–3 types): ~600–700 g total — e.g. salami, prosciutto, pepperoni
Cheeses (3–5 types): ~2 kg total — mix soft, semi-soft, firm/aged
Crackers / Bread / Crostini: 3–4 types — baguette slices, crackers, breadsticks
Fresh fruit & produce: 2–3 varieties — grapes, apple/pear slices, berries, plus optional olives/pickles
Nuts / Crunchy snacks: Enough for small bowls or scattered clusters
Spreads / Jams / Dips: 2–3 small bowls — e.g. jam, mustard, honey or chutney
Garnish & festive touches: Fresh herbs (rosemary, thyme), maybe shaped cheeses/fruits for holiday theme
Serving utensils / plates / napkins: Cheese knives, spoons for dips, tongs or picks, small plates or napkins for guests
This plan gives good variety and enough food for people to graze without overdoing it.
A Few Extra Ideas & Twists
If you want to go a bit creative or adapt based on your guest mix:
- Try a sweet + savory board including dark chocolate, dried fruits, candied nuts, maybe some sweets for those with a sweet tooth. Works great after dinner or with drinks.
- Make a vegetarian-friendly board: use assorted cheeses, fresh fruits, nuts, olives, pickles, and dips; skip meats. Makes it easy for guests with varied diets.
- Use themed shapes or colour palettes, cut cheeses or veggies into stars, snowflakes or other holiday shapes; use red and green ingredients (berries, grapes, olives, herbs) for a festive look.
- Offer a build-your-own plate/grazing station rather than one big board, let guests pick and build what they like. Great for larger or casual gatherings.
Final Thoughts
“How to arrange a festive Christmas charcuterie board step-by-step” doesn’t have to feel like a big production. If you take it piece by piece, prep first, use a good board, mix your items, leave space, you’ll end up with something both inviting and tasty.
If you’d prefer someone else handle the fuss, or want a ready-to-serve festive board, you might check out services like Pretty Party Platters. They bring festive spreads that suit holiday parties and let you actually relax with your guests.