The Ultimate Guide to Building the Perfect Party Platter
Build the Perfect Party Platter
Whether you’re hosting a casual get-together, a birthday bash, or a formal dinner party, the right party platter can be the show-stopping centerpiece that impresses your guests and satisfies every palate. A well crafted party platter offers variety, visual appeal, and flavors that create lasting memories. Here is your ultimate guide to building a perfect party platter that will make you the go-to entertainer in your circle.
Step 1: Know Your Audience
Before you begin, it’s important to consider your guest list. Take into account dietary restrictions, preferences, and the type of event you’re hosting. If you’re catering to a group with vegetarians or food allergies, you’ll need to plan your platter accordingly to ensure there is something for everyone.
Step 2: Choose a Theme
Party platters can be themed to suit different occasions. Here are a few popular options:
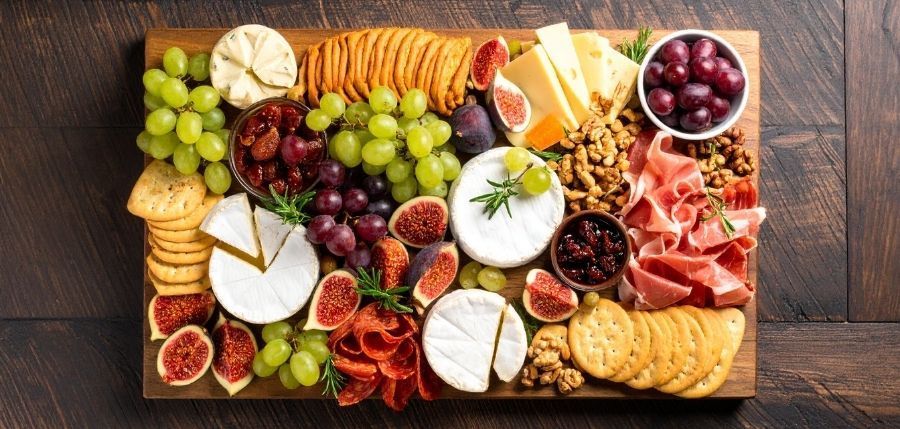
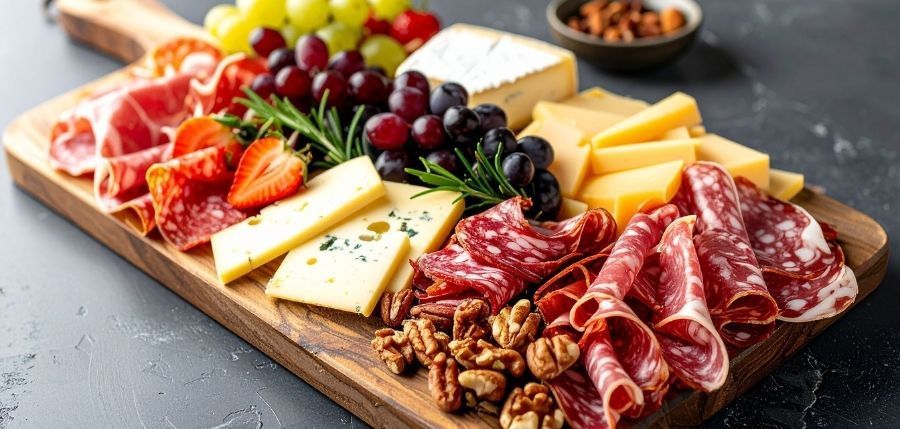
- Cheese and Charcuterie Board: A classic platter featuring a variety of cheeses, cured meats, crackers, and fruit.
- Mediterranean Platter: Hummus, olives, pita bread, feta cheese, and stuffed grape leaves.
- Seafood Platter: Shrimp cocktail, smoked salmon, oysters, and crab claws.
- Dessert Platter: Assorted mini desserts, fruits, chocolates, and pastries.
Once you have a theme, it becomes easier to select complementary ingredients.
Step 3: Build a Balanced Flavor Profile
A great platter should have a harmonious balance of flavors and textures. Aim for a combination of the following:
- Salty: Prosciutto, olives, pickles, or salted nuts.
- Sweet: Grapes, honey, dried fruits, or chocolate.
- Savory: Cheeses, cured meats, or marinated vegetables.
- Crunchy: Crackers, breadsticks, or pretzels.
- Soft and Creamy: Brie cheese, dips, or soft bread.
Mixing these elements provides a well-rounded tasting experience.
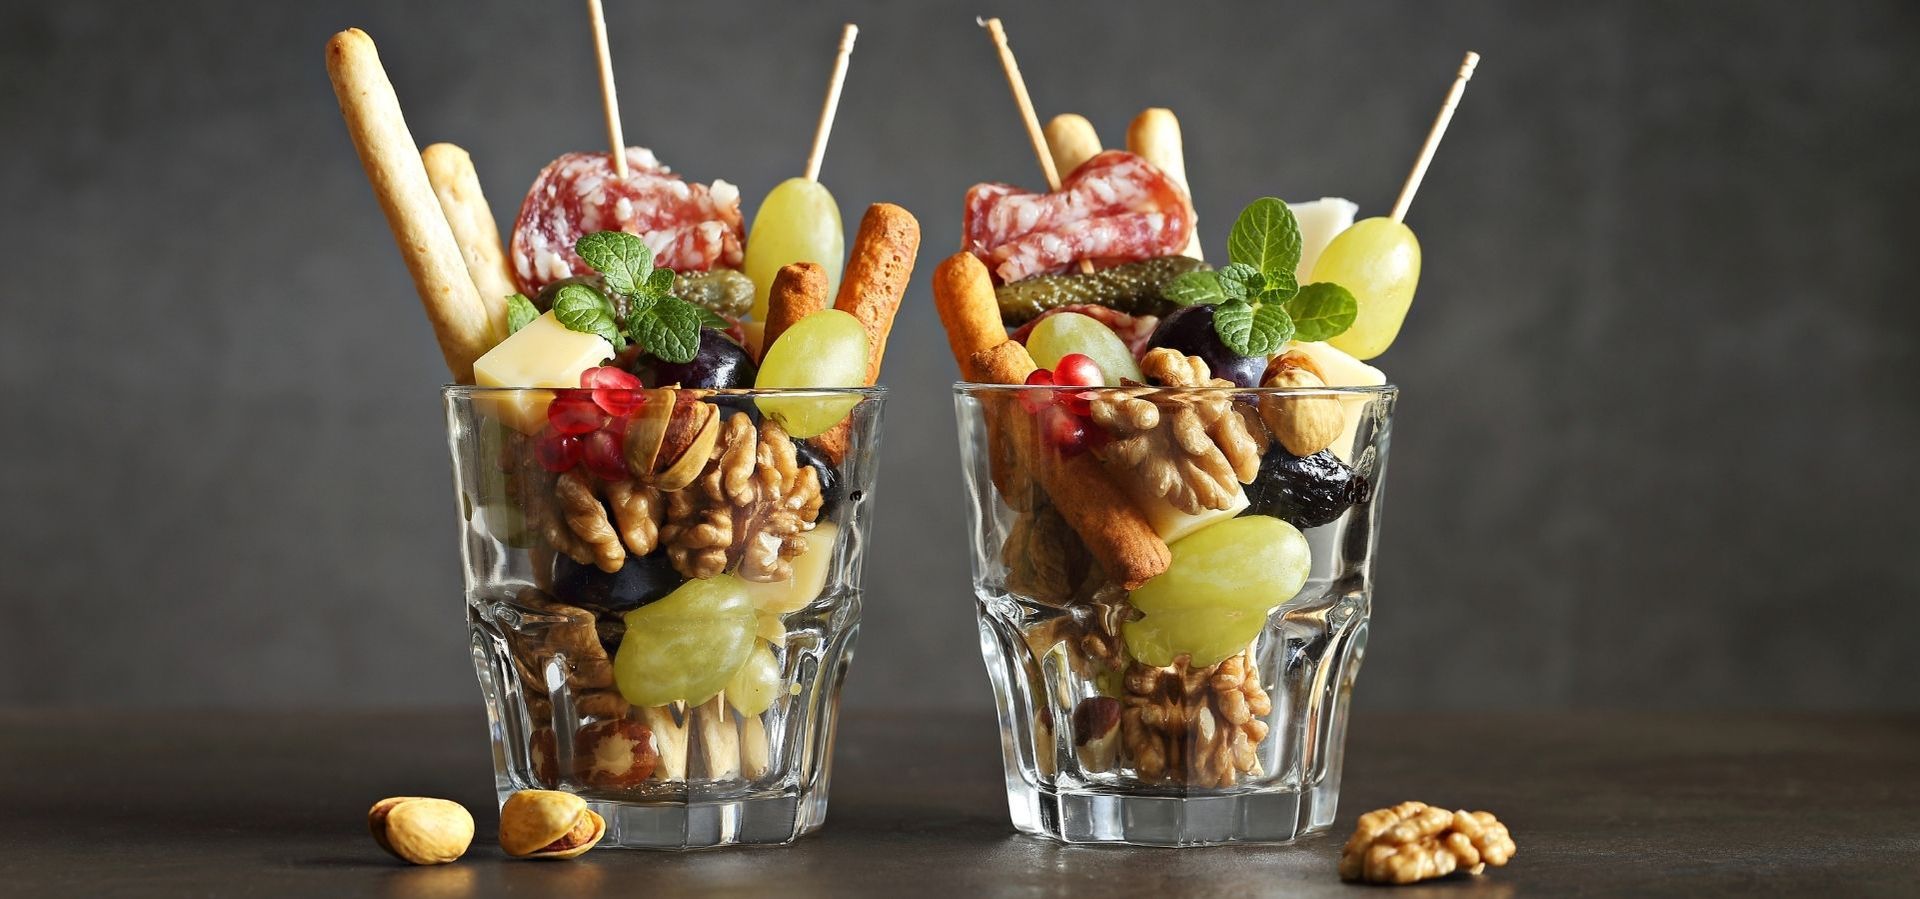
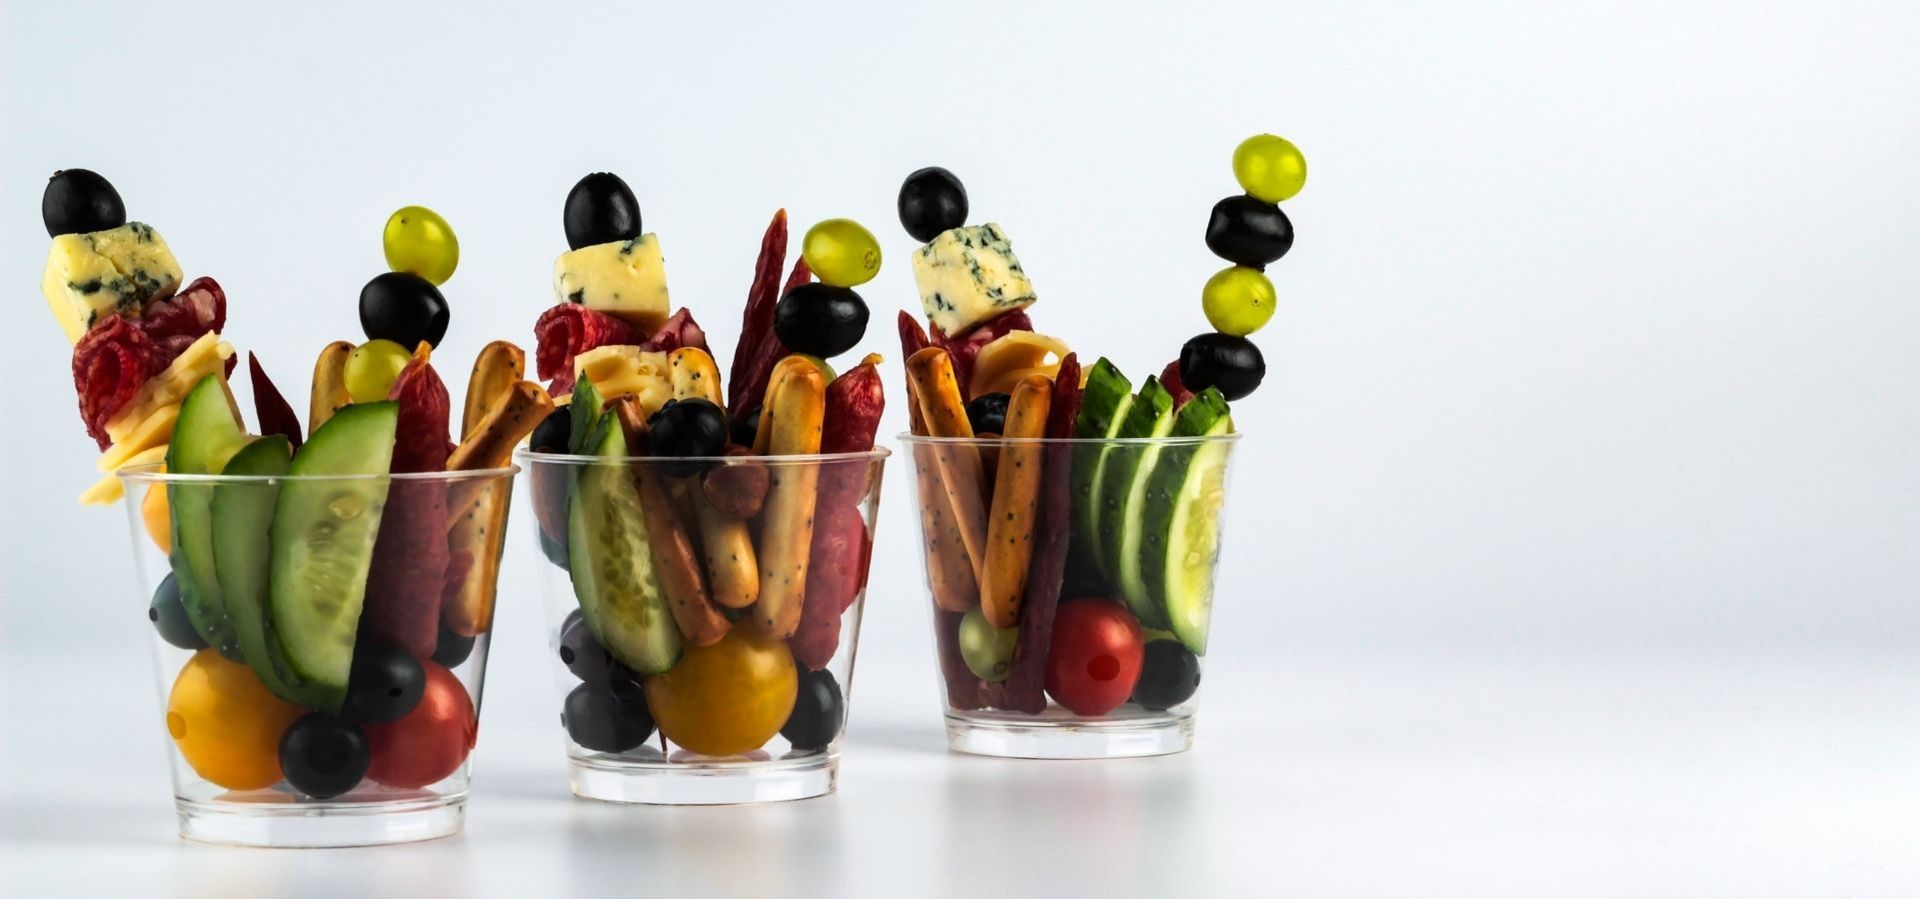
Step 4: Select the Right Base and Display
Your choice of base for the platter is as important as the food itself. Choose a sturdy, visually appealing board or tray made from wood, marble, or ceramic. Consider the size of your gathering to determine how large your platter should be.
Some tips for arranging your platter:
- Use small bowls for dips, olives, or nuts to keep wet items from spreading.
- Create visual interest by arranging items in clusters rather than straight lines.
- Alternate colors and textures to make the platter visually appealing.
Step 5: Selecting Ingredients
Let’s break down the most common components of a party platter by type.
1. Cheese Include a variety of cheeses to satisfy different tastes. Aim for a mix of textures and flavors:
- Soft: Brie, Camembert, or goat cheese.
- Semi-Soft: Havarti or Fontina.
- Hard: Cheddar, Gouda, or Parmesan.
- Blue Cheese: Gorgonzola or Roquefort for a pungent kick.
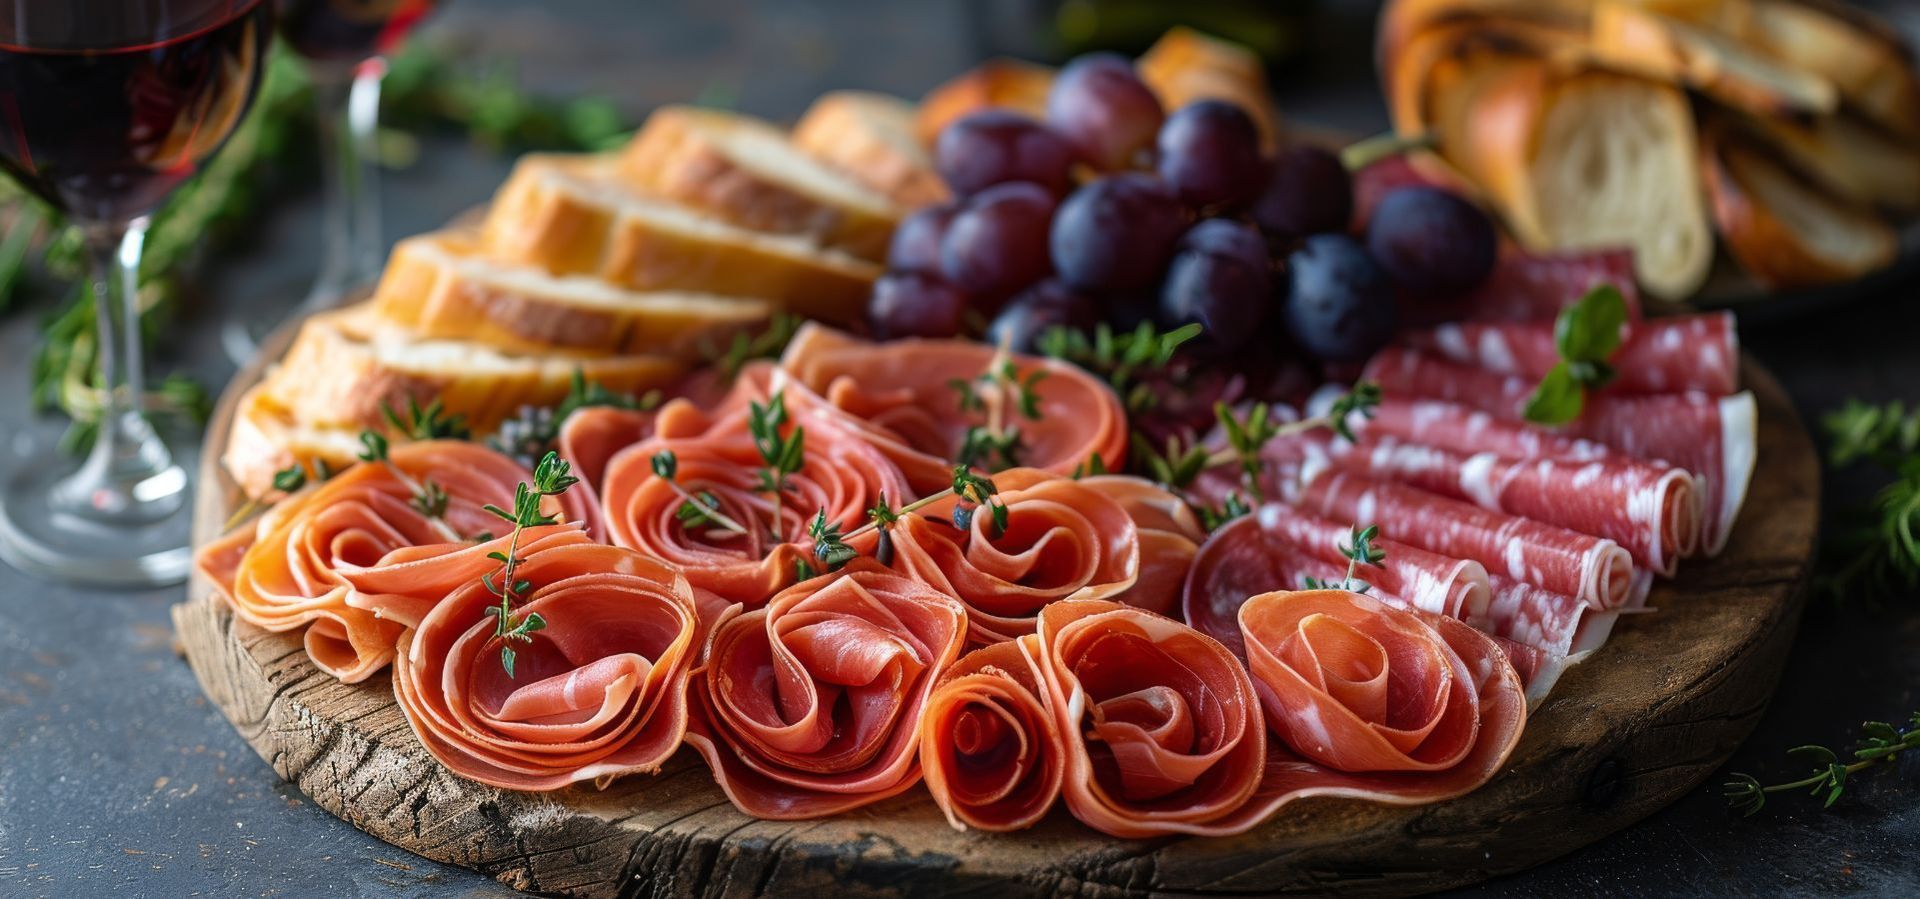
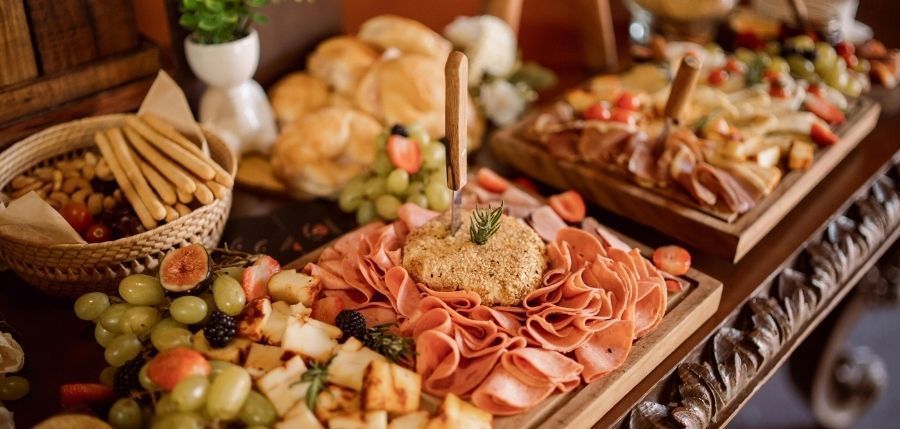
2. Meats Cured meats add a savory, protein-rich element to your platter:
- Prosciutto
- Salami
- Soppressata
- Chorizo
Fold or roll the slices for a professional touch.
3. Bread and Crackers Offer a selection of:
- Artisan breads (baguettes or ciabatta)
- Water crackers
- Breadsticks
- Flatbreads
4. Fruits and Vegetables Fresh produce adds color and freshness:
- Grapes, figs, or berries for sweetness
- Cherry tomatoes or bell pepper strips for crunch
- Cucumbers or radishes for crisp texture
5. Dips and Spreads Include one or more dips to enhance flavors:
- Hummus
- Olive tapenade
- Honey or fruit preserves
- Mustard or aioli
6. Garnishes Finish your platter with visually appealing garnishes:
- Fresh herbs (rosemary, thyme, or mint)
- Edible flowers for a special touch
Step 6: Add Personal Touches
Customization can make your platter unforgettable:
- Labeling: Use small labels or signs to identify cheeses and dips.
- Seasonal Themes: Incorporate seasonal fruits or decorations to match holidays.
- Unique Elements: Include specialty items like truffle-infused cheese or gourmet olives.
Step 7: Serve and Maintain Freshness
Timing is key when serving a party platter. Prepare and arrange the components shortly before guests arrive to ensure freshness. If your platter contains perishable items like seafood or dairy, keep it chilled until serving.
Pro tips:
- Allow cheeses to sit at room temperature for 30 minutes before serving to enhance flavor.
- Refill popular items throughout the event to keep the platter looking full and inviting.
Step 8: Presentation Matters
Presentation can elevate a simple platter into a feast for the eyes. Here are some design tips:
- Layering: Stack elements at different heights using small bowls or risers.
- Color Coordination: Use a cohesive color palette or contrasting hues for drama.
- Symmetry and Balance: Place larger items like cheeses and dips first, then fill in gaps with smaller items.
Step 9: Don’t Forget the Drinks
Pairing your platter with the right beverages enhances the experience:
- Wine: Red wines like Merlot pair well with bold cheeses, while white wines like Sauvignon Blanc complement seafood and lighter cheeses.
- Cocktails: A signature cocktail themed to your event adds flair.
- Non-Alcoholic Options: Sparkling water with fruit garnishes or mocktails.
Step 10: Create a Checklist
Planning ensures a smooth preparation process.
By following these steps, you’ll create a visually stunning, delicious party platter that caters to all tastes. With thoughtful preparation and a creative touch, your platter will be the talk of the event and your guests will eagerly anticipate your next gathering!