Pairing Cheese, Meats, and Fruits Like a Pro
Pairing Cheese, Meats, and Fruits Like a Pro
Understanding the Balance of Flavors
When pairing cheese, meats, and fruits, the key is balance. You want to create a harmonious mix of textures, tastes, and contrasts. Here’s what to consider:
- Contrast: Pairing sweet with salty, creamy with crunchy, or mild with bold enhances the experience.
- Complement: Ingredients with similar characteristics (e.g., nutty cheese with earthy meats) create a seamless match.
- Texture: Soft cheese pairs well with crisp fruit, while hard cheese can hold up against chewy dried fruit or charcuterie.
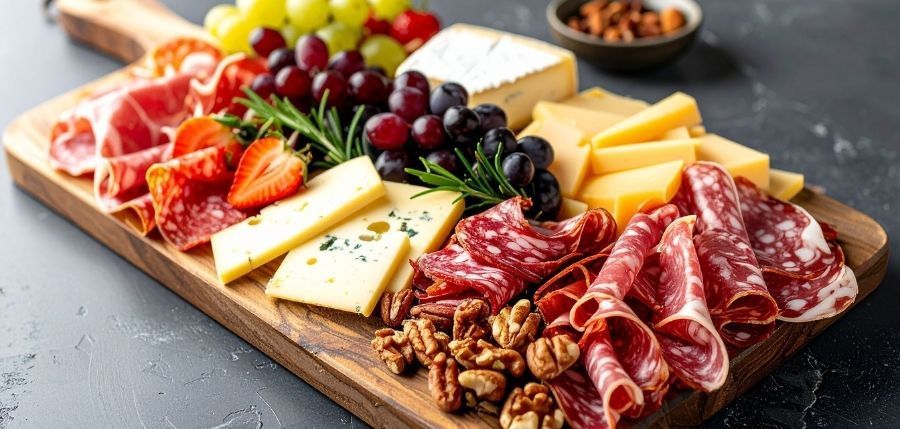
Cheese and Meat Pairing Guide
Certain cheeses and meats naturally complement each other. Here are some classic combinations:
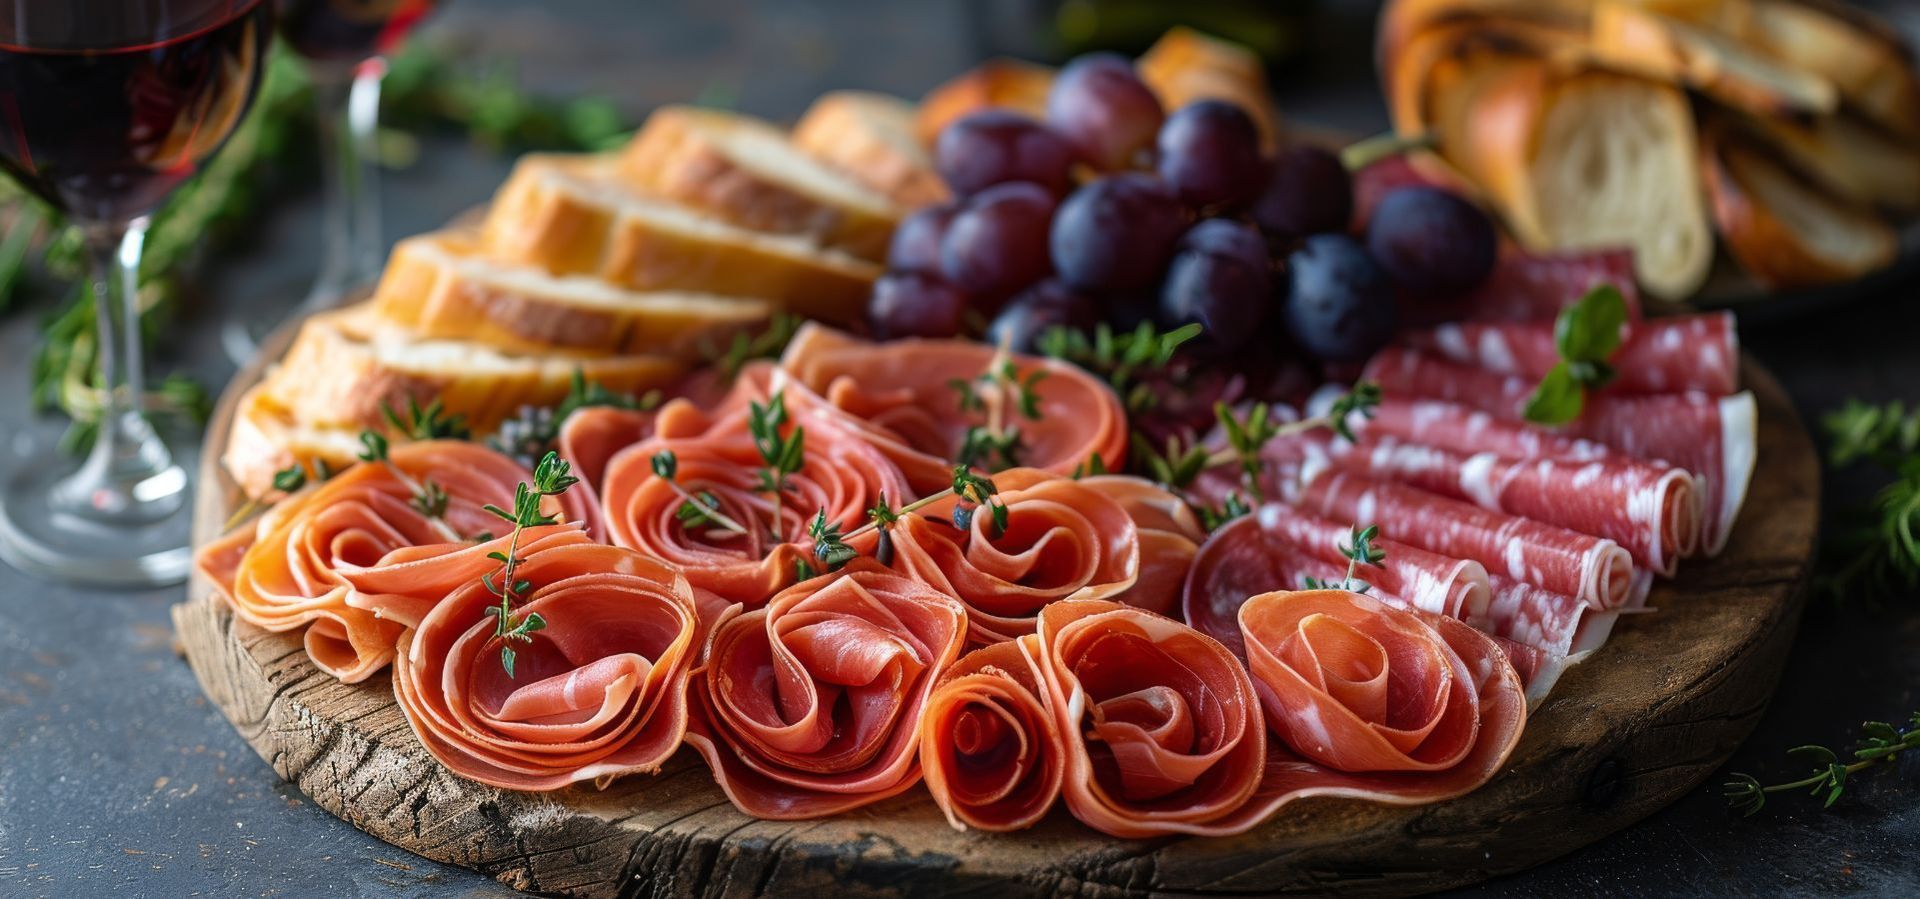
- Brie & Prosciutto: The buttery, creamy Brie pairs beautifully with the delicate saltiness of prosciutto.
- Aged Cheddar & Salami: The sharp, nutty cheddar balances the bold, spiced flavors of salami.
- Gorgonzola & Speck: The tangy, pungent blue cheese contrasts well with the lightly smoked and cured speck.
- Gouda & Chorizo: The caramel-like notes of gouda pair wonderfully with the smoky, spicy profile of chorizo.
- Goat Cheese & Soppressata: The tart and creamy goat cheese is complemented by the fatty richness of soppressata.
Adding Fruit to Elevate the Experience
Fruits bring sweetness, acidity, and freshness, balancing the savory richness of cheese and meats. Here are some excellent fruit pairings:
- Figs & Blue Cheese: The natural sweetness of fresh or dried figs offsets the strong bite of blue cheese.
- Grapes & Brie: Juicy, slightly tart grapes provide a refreshing contrast to Brie’s rich texture.
- Apples & Cheddar: The crispness and subtle tartness of apples enhance the bold, sharp flavors of cheddar.
- Pears & Gouda: The mellow, honeyed sweetness of pears complements Gouda’s nutty taste.
- Berries & Goat Cheese: Strawberries, raspberries, and blackberries bring a bright, tangy contrast to goat cheese.
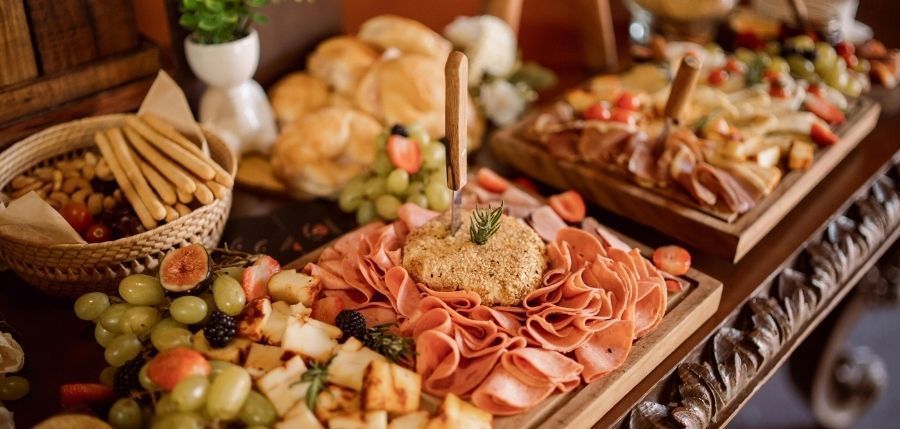
Tips for Building the Perfect Charcuterie Board
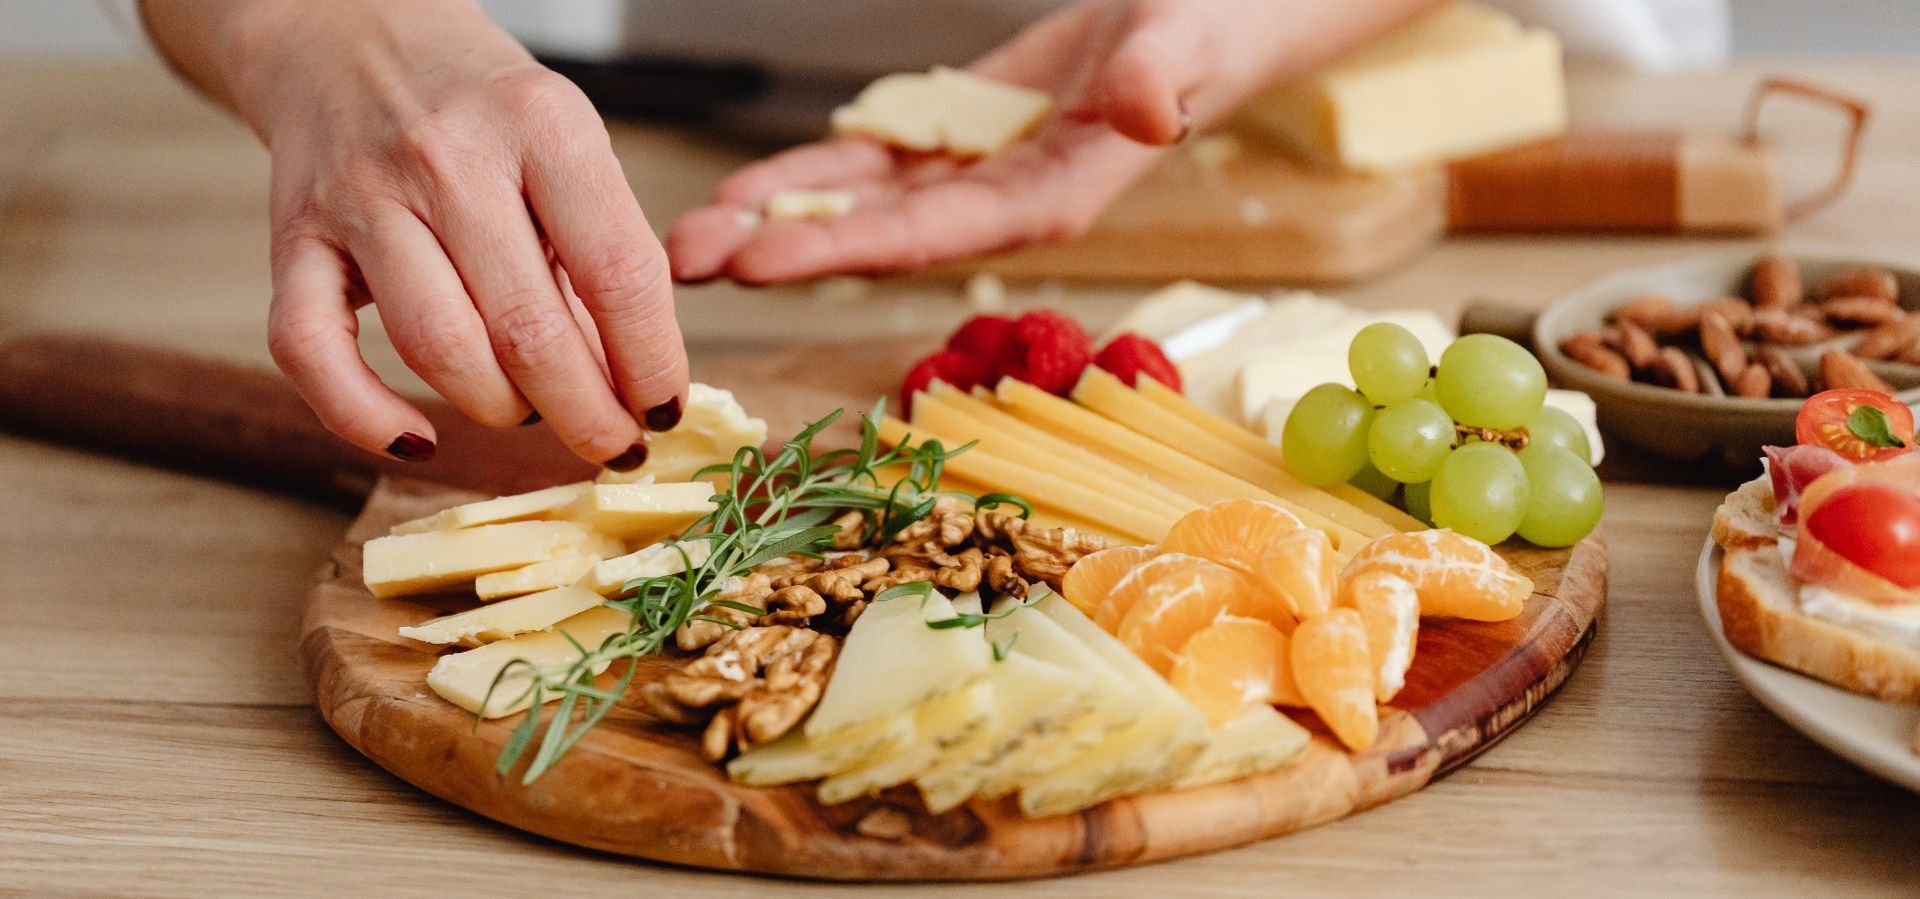
- Vary Textures & Flavors: Include a mix of soft, hard, creamy, and crunchy elements.
- Incorporate Extras: Add nuts, honey, olives, and crackers to diversify textures and flavors.
- Serve at Room Temperature: Cheese and meats taste best when slightly warmed to bring out their flavors.
- Pair with Wine: A well-matched wine can elevate your board try a crisp white with soft cheese or a bold red with aged meats.
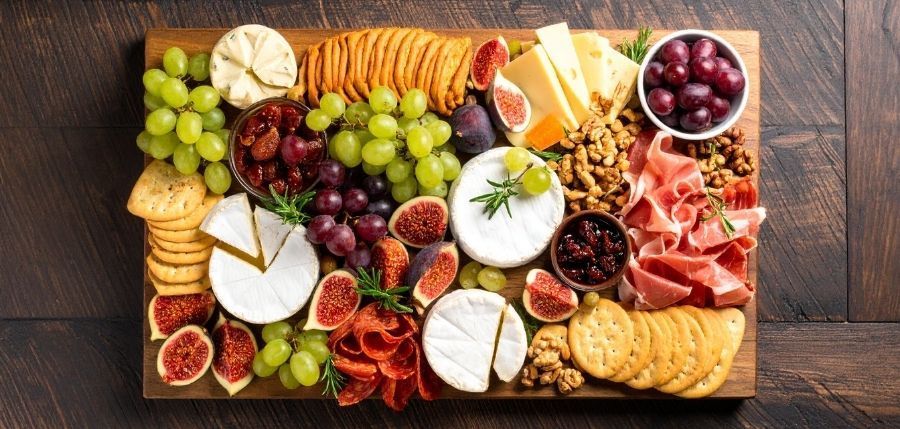
- Presentation Matters: Arrange everything in an eye-catching way, layering ingredients for a visually appealing display.
By following these expert pairing tips, you’ll be able to craft a delicious and well-balanced charcuterie board that impresses every time. Experiment with different combinations to find your favorites, and most importantly, enjoy the process of savoring great flavors!

Shopping list for charcuterie cups in Canada. Budget and premium options, portions per cup, and easy ingredient swaps for guests.
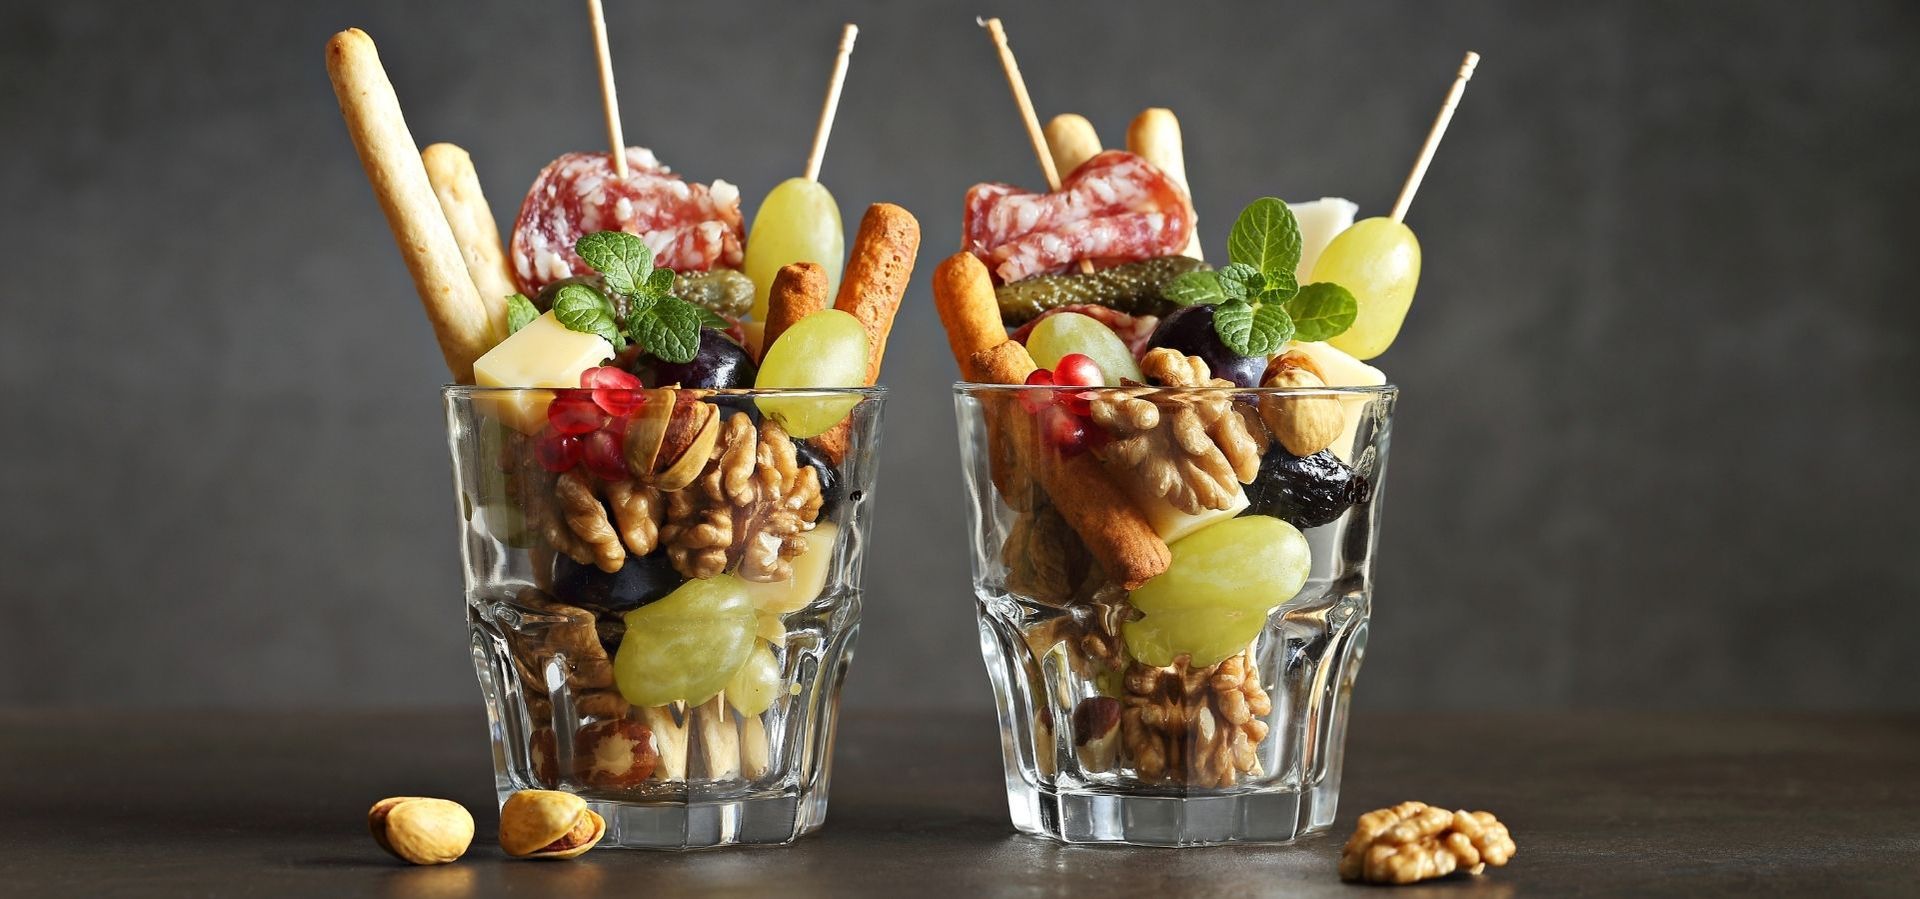
Perfect charcuterie cups for bridal and baby showers. Portion guide, best cup sizes, photo-ready ingredients, and prep tips.

Make charcuterie cups that look fancy but are easy. Best cup sizes, ingredient combos, prep tips, and portions for parties.

Create the perfect Valentine's Day charcuterie board with these tips. Color palettes, ingredients, timing & romantic presentation.
Discover perfect occasions for heart-shaped charcuterie boards beyond Valentine's Day. Bridal showers, birthdays & more ideas.
Learn to create stunning heart-shaped charcuterie boards with our complete guide. Tips on ingredients, arrangement & occasions.

Discover the best Christmas charcuterie board ingredients from meats and cheeses to fruits, nuts, and spreads for a festive holiday party spread.
Learn how to arrange a festive Christmas charcuterie board step-by-step with easy prep tips, layout ideas, and shopping lists for stress-free holiday hosting.
Discover creative Christmas charcuterie board ideas perfect for holiday parties of any size. From festive wreath layouts to easy grazing spreads, learn what to include, how much to buy, and layout tips that impress guests without keeping you stuck in the kitchen.
Christmas Charcuterie Board: How to Build a Holiday Spread That Wows